

Our Epoxy Floor Installation Process
At Simon Says Epoxy, we are committed to installing the most durable, aesthetic, and high quality epoxy floors. Before every installation, our crew will examine the existing floor condition, substrate type, any existing coatings, and identify specific requirements or challenges unique to the project. We will then address any questions or concerns the customers may have, ensuring that we meet the customer’s expectations and needs.
Diamond Grinding the Surface
The most crucial step to successfully installing an epoxy floor is the preparation process. At Simon Says Epoxy, we use state-of-the-art diamond grinders and tools to create an unbreakable mechanical bond that ensures the epoxy not only adheres to the floor, but stays there for good. We start by grinding the entire surface of the floor with our state-of-the-art planetary diamond grinders, then grind down the edges and hard-to-reach places of the surface with hand grinders. Once the grinding is finished, we will ensure all debris is cleaned from the surface.
Repairs and Patching
More often than not, there will be imperfections in a customer’s floor. Our team will address any structural issues or surface imperfections by repairing cracks, filling gaps, and patching damaged areas. Through specialized tools and products, these repairs are quick and simple, ensuring a quality and quick installation. After these repairs are made, these areas will be ground down with hand grinders, ensuring a flawless and smooth surface, followed by a cleaning to remove all dust and debris from the floor.
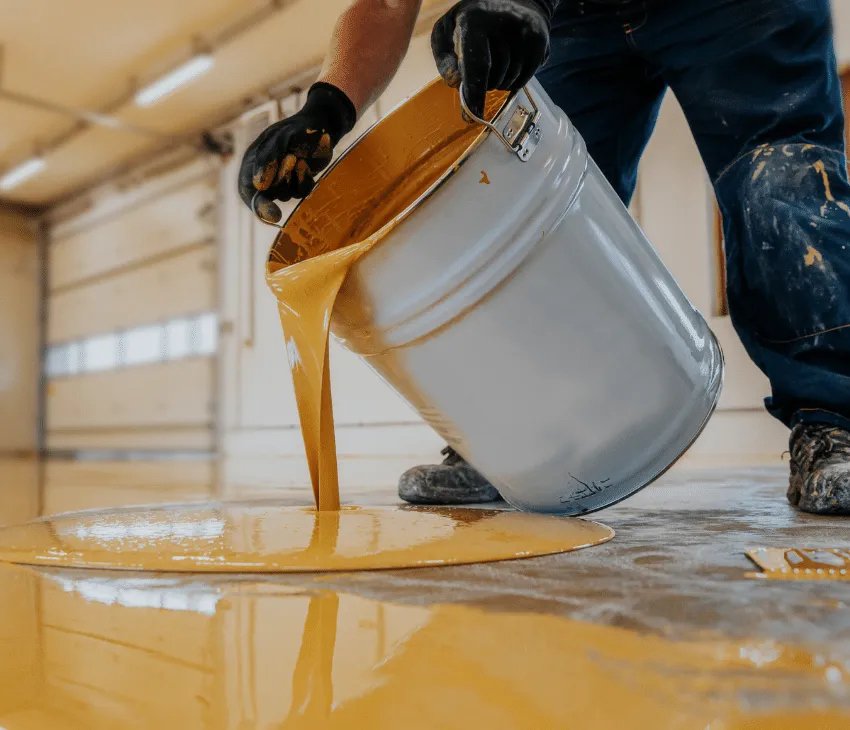
Primer Application
After the surface has been properly ground, repaired, and cleaned, we apply a high-quality epoxy primer to the surface. The primer coat enhances the adhesion of the epoxy to the surface and acts as a moisture barrier, preventing issues like bubbling or delimitation. Concrete is naturally porous, so a primer coat seals those pores, preventing bubbles or pinholes from forming in the later epoxy coats. Our primer coat also helps smooth out minor imperfections and irregularities of the surface, resulting in a more seamless and professional looking floor.
Application of Decorative Flakes
For an installation of a flake epoxy floor, our skilled team will finish applying the primer coat and will start to broadcast the decorative vinyl flakes. To ensure 100% coverage, we use more than double the amount of material to ensure full coverage. Once the coating is fully cured, we will remove all the excess flakes. Once all excess material is removed, we will vacuum the surface once again to remove all dust and debris.
Application of Polyaspartic Topcoat
Once all excess flakes are removed and the surface is properly vacuumed, the floor is ready for the final coat. With a polyaspartic topcoat, you are getting a very protective and durable clear gloss coat that is built to last. After pouring the topcoat is poured onto the floor, we will begin to spread the product with a flat squeegee, followed by using a roller to ensure proper and even coverage all over the floor. Following the back roll, our team will step off the floor and advise that nobody step foot on the floor for at least 8 hours to ensure a proper bond and dry time.